Showing posts with label DIY. Show all posts

Monday, August 2, 2010

Decorating Project

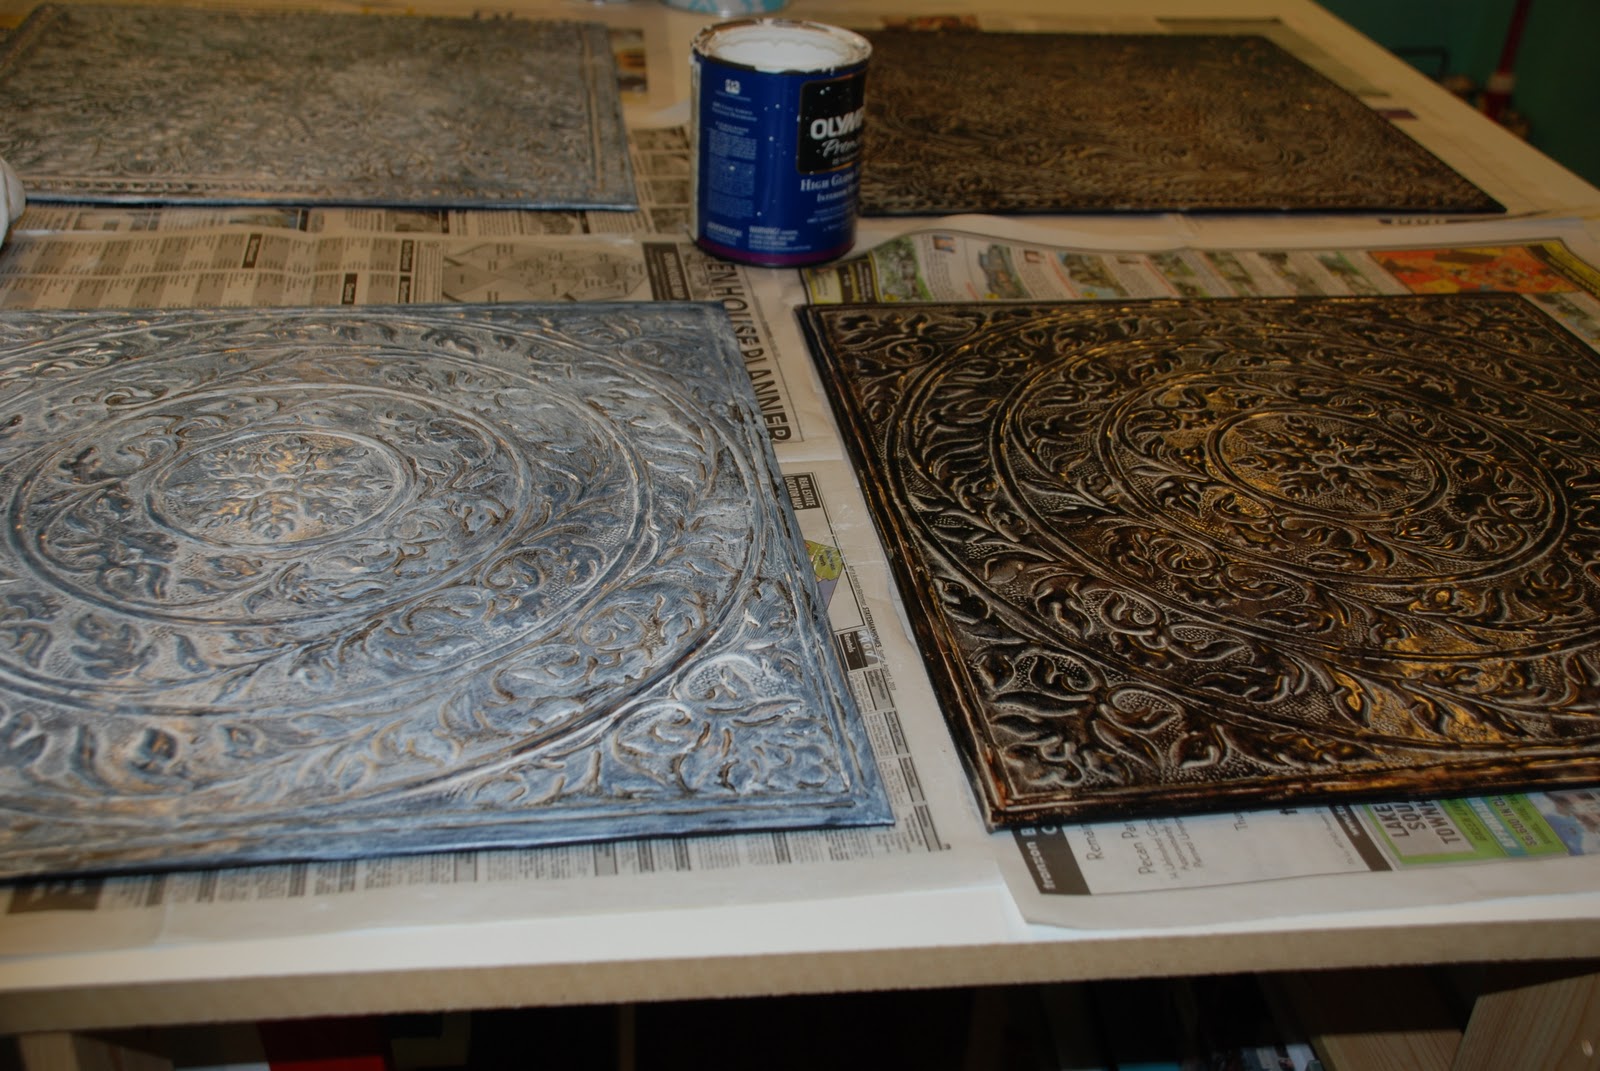
I was flipping through a Pottery Barn catalog the other day and noticed a picture of a bedroom with some grayish tiles on the wall above the bed. I thought something like that would look good in our bedroom, especially since we recently painted it gray and have gray and white linens. Then, I remembered that I ALREADY HAVE four tiles, just like this. Except, they are dark. Hmmm. I have white paint in the garage. I wonder....?

So, I took the picture from the catalog, the tiles, some white paint and an old t-shirt and headed up to my sewing room,


I grabbed the t-shirt, stuck it in the paint and sort of dabbed it against itself to spread around the paint. then, I put it on in a circular motion (wax on, wax off). It dried pretty quickly, then I hung up three of them above the bed and one in the bathroom (not shown). What do you think?


Wednesday, July 28, 2010

Flower Corsage T-Shirt

I love all of those tops that are popular right now at places like J Crew and Anthropologie...you know the ones I am talking about:

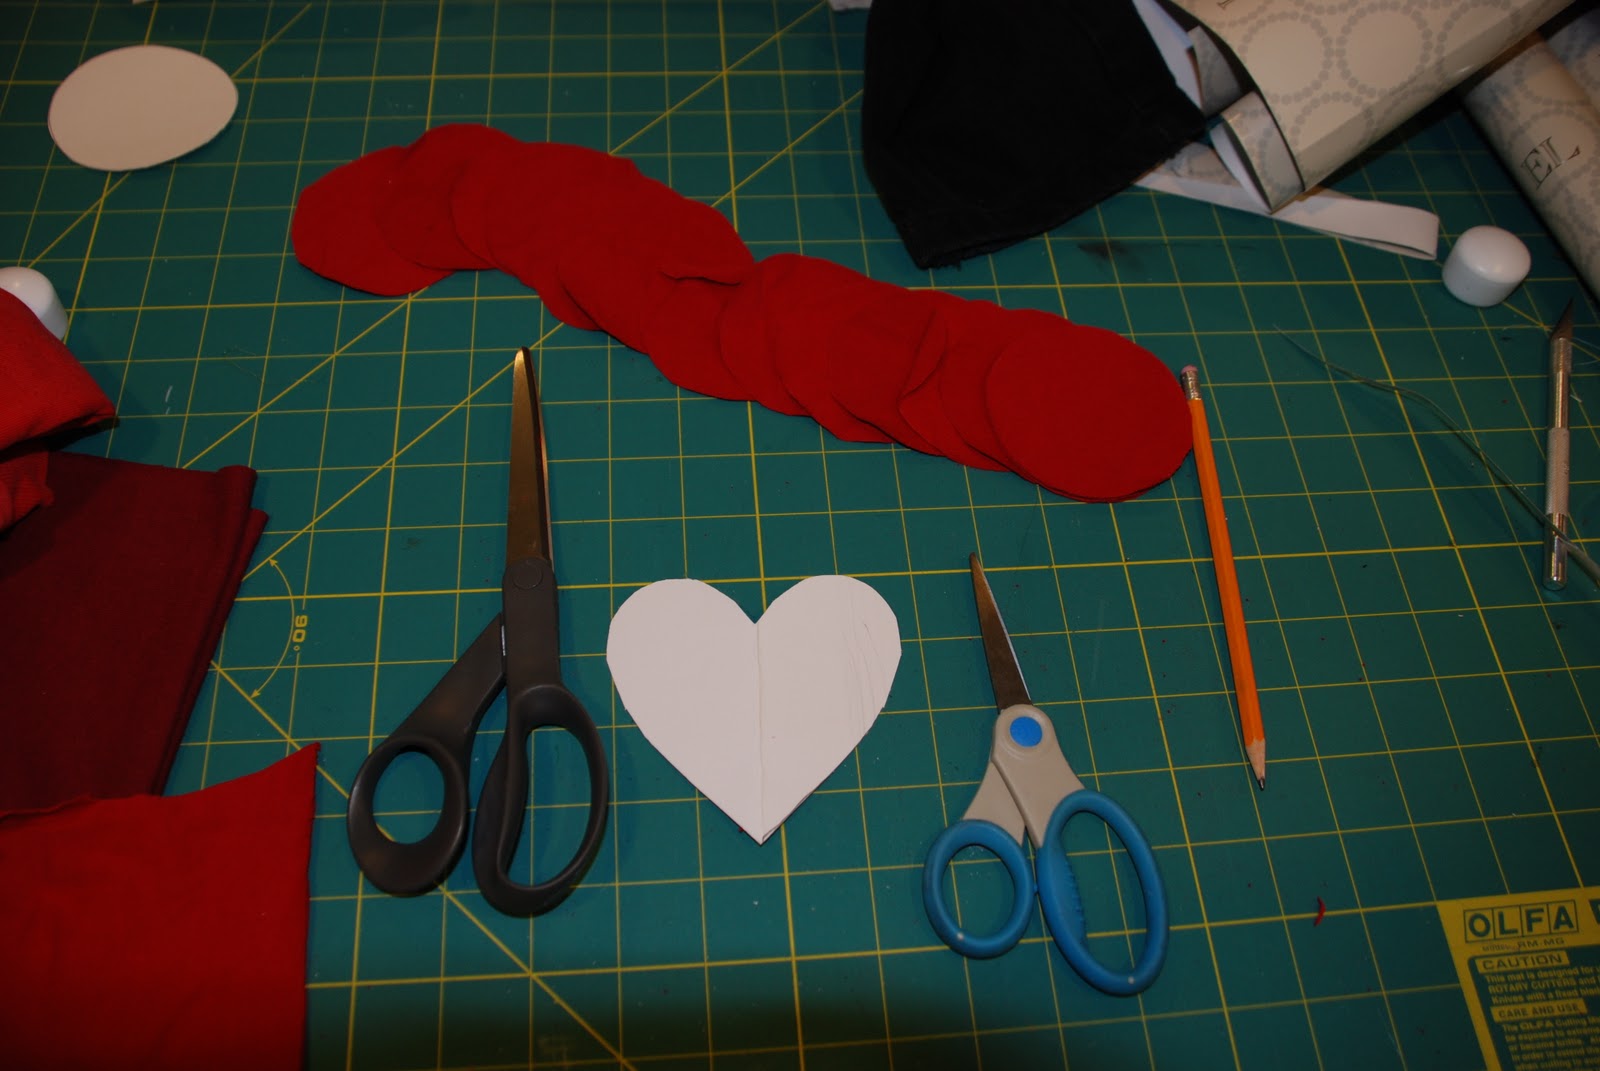
And, I was thinking it'd be pretty easy to do this myself. So, I Googled it and found a simple tutorial here. So, last night I pulled out a plain, v-neck t-shirt and went to the sewing room. I decided to start with a circle shape (they show hearts in the tutorial - I'll be doing that next). I just found a roll of tape, traced the center onto card stock and made a template:

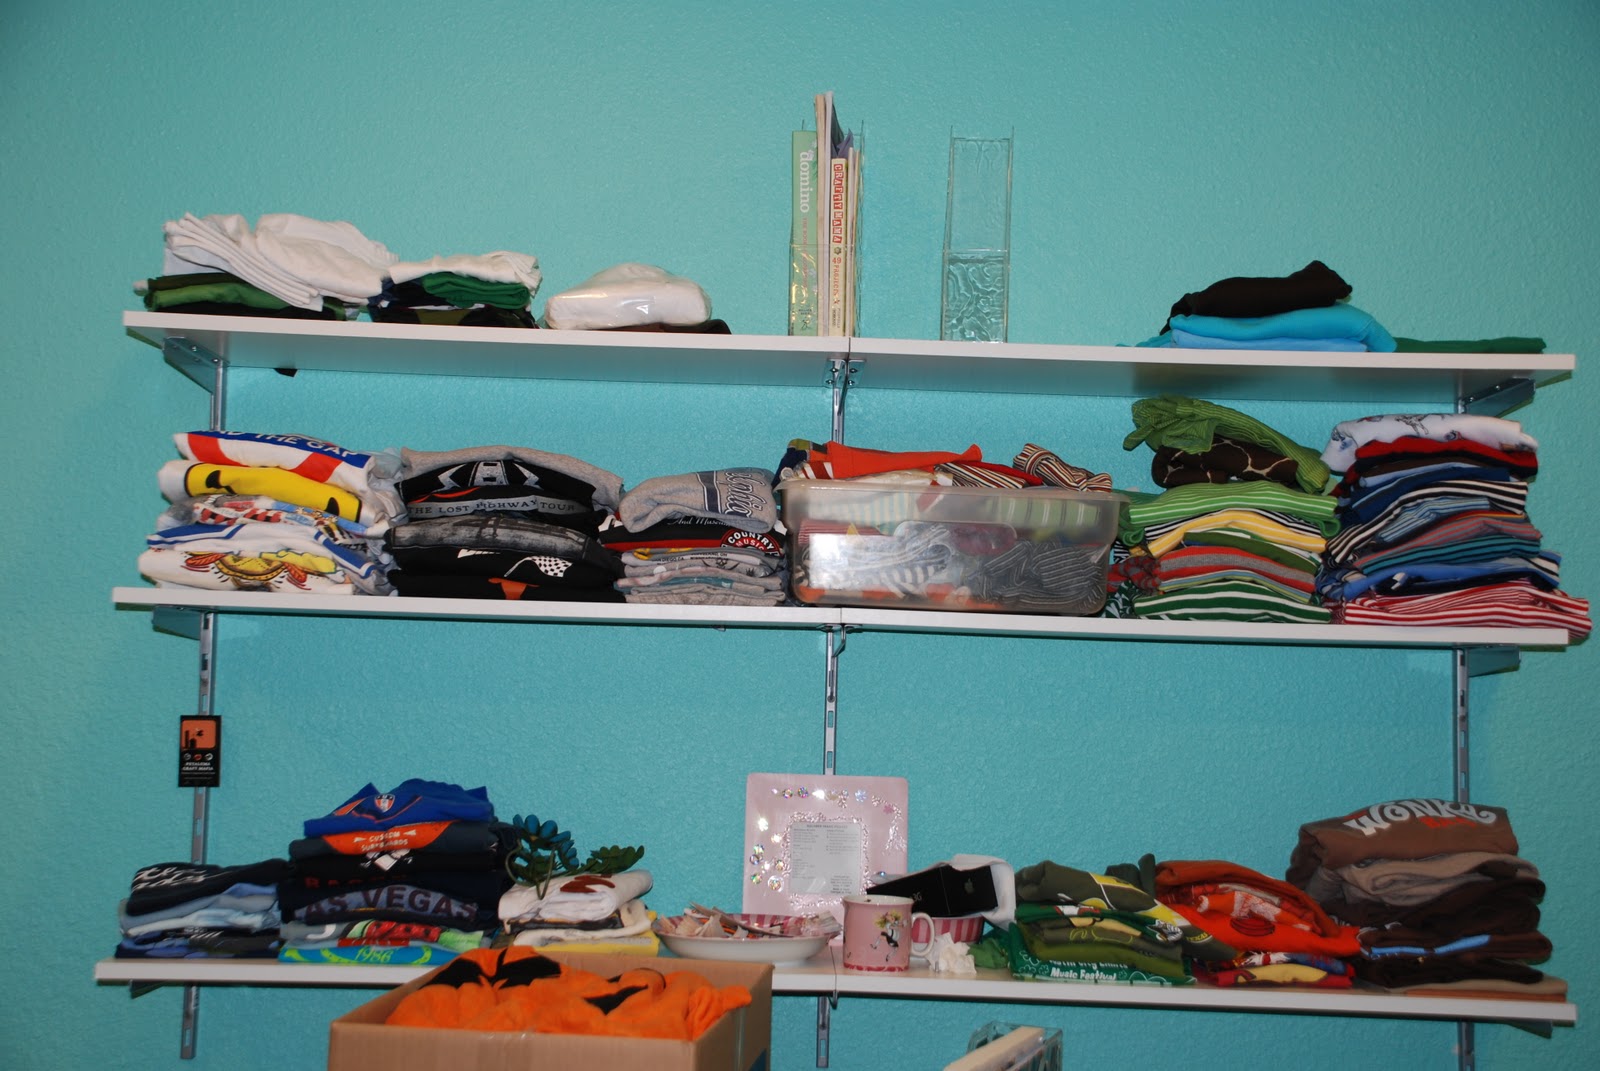
Next, I looked to my wall of old t-shirts that I have for my other projects and picked a color:

I found it was easiest to cut the template while holding a square of fabric in my hand. At first, I cut two at a time (per the tutorial), but found my scissors could handle 6 layers. Much faster when you need 16!


The last pic shows the heart template for the next round. And, the paper scissors vs fabric scissors. NEVER use fabric scissors on paper! Okay, on to the sewing machine...

T-shirt before


I just kept placing circles randomly and adding a few stitches to the center of each and voila! Before too long, I had a new shirt.


The End!

Monday, May 17, 2010

Living Room Window Project

We have some super high windows in our living room. In the winter, they’re lovely. But, for the rest of the year, everyday at about 4:45PM, the sun comes straight in and blinds everyone inside. I have literally had to wash dishes wearing my sunglasses. And, birds can’t see the reflection, so we get numerous bird suicides…like, at least once a week.


After researching remote-controlled blinds (because they’re way too high to reach) and various sunshades, I knew we had to come up with something a bit more affordable yet not unattractive. I remembered seeing something on a home improvement show awhile back about an ugly skylight. The owners made a wooden frame, covered it in sheer fabric, and wedged it into the space that housed the skylight and it looked a LOT better. So, I sent Husband to the hardware store for some pine 1X2's and he constructed these beauties:


Meanwhile, I went to the local fabric store and bought some cheap muslin. That, along with a staple gun, an iron and some fabric scissors is all you need to make this project your very own:


First, I spread some towels on the dining room table and smoothed out the fabric with an iron:


Then, I started stretching and stapling like crazy:


The trick is to put in all of the staples at an angle so the fabric doesn't pull out, put one in every inch or so so it won't pucker and once you staple on one side, pull the crap out of the fabric on the opposite side to staple.


Trim off excess fabric and voila:


Price breakdown

Wood: $15

Fabric: $14

Total Cost: $29